Why Mushroom Batches Fail — Real Problems, Root Causes & Clear Fixes
A practical guide for growers: diagnosis, immediate corrective actions, prevention checklists and how automation reduces risk and improves yield.
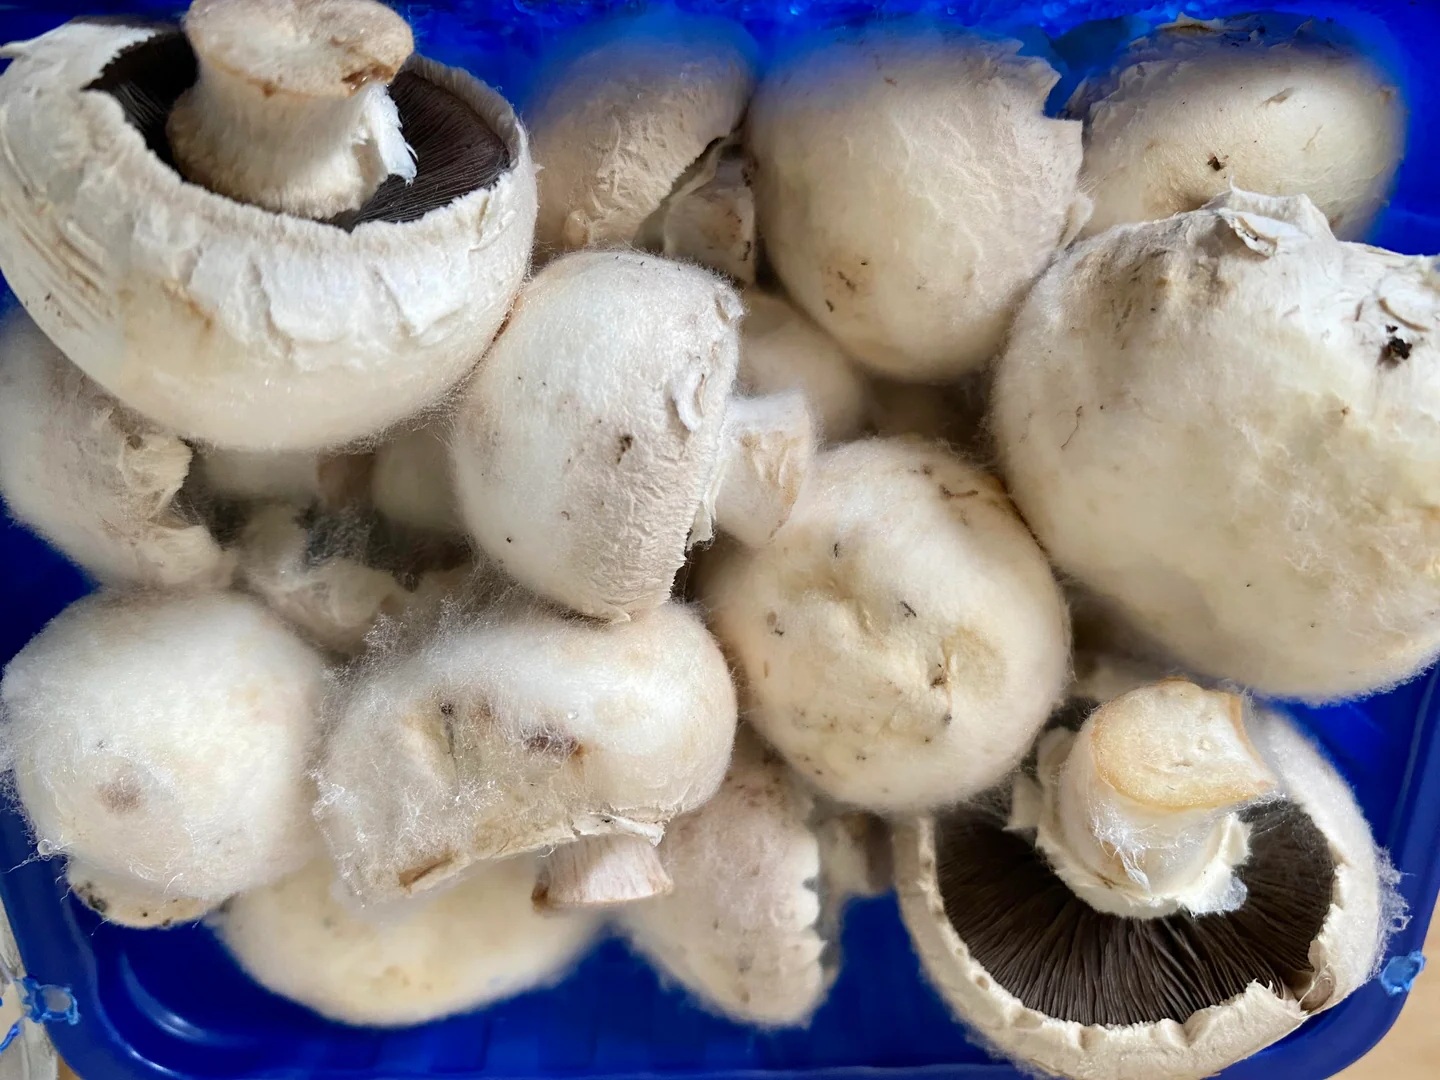
Quick Reference: Common Failure Modes
- No or weak pinning — causes: wrong humidity, incomplete colonization, poor gas exchange, contamination.
- Small, thin or sparse mushrooms — causes: high CO₂ in fruiting, nutrient-poor substrate, low humidity.
- Pins aborting — causes: sudden RH drops, surface water, temperature swings, contamination.
- Mold or bacterial contamination — causes: contaminated substrate, poor water quality, stagnant air.
- Cracked/dry caps — causes: low humidity, over-ventilation, too warm.
- Waterlogged substrate — causes: overwatering, compacted substrate, blocked drainage.
Core Environmental Variables to Monitor
These five parameters control most outcomes. Measure and control them to reduce problems dramatically.
- Temperature (°C) — impacts mycelial growth rate and fruiting triggers.
- Relative Humidity (RH) — critical for pinning and cap development (typically 85–95% for fruiting).
- CO₂ (ppm) — affects morphology: high CO₂ → long stems, small caps.
- Airflow / Ventilation — removes CO₂ and prevents condensation and stagnant pockets.
- Substrate moisture — must be even; both dry and waterlogged substrate cause failure.
Recommended sensors: temperature ±0.3°C, RH ±2%, NDIR CO₂ (400–5000 ppm range), substrate moisture probe, and airflow sensor for large rooms. Log readings frequently for trend analysis.
Stage Rules: Incubation vs Fruiting
Incubation (Mycelial Colonization)
Goal: fast, clean colonization of the substrate. Typical environment is warmer and stable; elevated CO₂ is acceptable within sealed containers; RH should be high but avoid surface condensation. Key controls: stable temperature, sterility/pasteurization, and minimal drafts.
Fruiting (Pinning → Growth → Harvest)
Goal: induce pins and develop dense, compact fruit bodies. Fruiting typically requires slightly cooler temps than incubation, very high RH (85–95%), lower CO₂ (regular fresh air bursts), gentle airflow, and species-appropriate light cycles.
Detailed Case Studies & Troubleshooting
Case A — Low Yield: Small, Sparse Mushrooms
Symptoms: Many pins or small flushes but fruit bodies are thin, with small caps and long stems; overall yield is low.
Likely causes: high CO₂ during fruiting, insufficient canopy RH, nutrient-depleted substrate, wrong fruiting temperature, or insufficient light for certain species.
- Check CO₂: if >1000 ppm during fruiting, increase ventilation or open dampers. (Target often <800–1000 ppm depending on strain.)
- Check RH at the canopy: if <85% during pinning/cap expansion, increase humidifier output using fine mist (avoid droplets).
- Inspect substrate: signs of nutrient exhaustion suggest refresh or supplementation.
- Verify and adjust temperature to species-specific fruiting range.
- Evaluate light cycle and intensity; introduce diffused light if the species benefits.
Prevention: Use CO₂-triggered ventilation with short bursts rather than continuous high airflow; keep sensor logs for root-cause analysis; maintain substrate nutrition.
Case B — Pins Form but Abort
Symptoms: Small pins appear then shrink or rot.
Likely causes: sudden RH drop, surface water causing bacterial pin rot, sudden temperature swings, or contamination.
- Review humidity logs for sudden dips that coincide with pin failures; smooth humidifier scheduling to avoid sharp cycles.
- Check for droplets or pooling on substrate — adjust distribution or raise emitters.
- Stabilize temperature control (reduce thermostat hysteresis).
- If pins are slimy or sour-smelling, isolate and remove affected trays and sanitize surrounding areas.
Case C — Colored Mold (Green, Black, etc.)
Symptoms: Colored mold patches on substrate, unpleasant odors, mycelium retreating.
Likely causes: contaminated spawn or substrate, excessive moisture with poor airflow, or poor hygiene.
- Immediately isolate contaminated trays to prevent spore spread.
- Dispose of contaminated substrate safely; do not compost on-site unless treated.
- Review sterilization/pasteurization protocols (temperature, time).
- Test water source for microbial load and switch to filtered water if necessary.
Case D — Waterlogged Substrate and Slow Colonization
Symptoms: Substrate looks dark and saturated; colonization is slow or patchy.
Likely causes: over-wetting during preparation, compacted substrate restricting gas exchange, or poor drainage.
- Stop further watering. Move trays to drier conditions with gentle airflow if incubation allows, to help evaporation.
- Add aeration holes or gentle air movement for blocks without drying the surface.
- In future batches, measure substrate moisture during mixing (target wet-but-not-soggy).
Case E — Leggy Mushrooms (Long Stems, Small Caps)
Symptoms: Tall, thin stems with undersized caps.
Likely causes: excess CO₂ during fruiting (most common) or inadequate light.
- Increase fresh air exchanges using CO₂-triggered ventilation while monitoring RH.
- Provide appropriate diffused light for species that require it (e.g., oysters).
- Gradually reduce CO₂ setpoints and monitor morphological improvements in the next flush.
Case F — Very Low CO₂ Levels
Note: Very low CO₂ itself is rarely problematic — the usual issue is over-ventilation causing RH loss.
- Rebalance ventilation to shorter, more frequent bursts coordinated with humidification.
- Link ventilation and humidification so fresh air intake is compensated by controlled humidifier output.
- Use diffusers or lower-velocity outlets to avoid direct high-speed airflow on the crop.
Watering & Irrigation — Practical Rules
Overwatering causes anaerobic pockets, slow mycelial growth, bacterial issues and nutrient leaching. Underwatering causes dry substrate and halted growth.
- Use calibrated drippers (ml/min) and timed pulses rather than continuous flooding.
- Integrate substrate moisture probes so irrigation only triggers when moisture drops below target.
- Calibrate irrigation outputs visually and check drippers weekly.
Contamination Detection & Rapid Response
- Early indicators: sour/rotten odors, discoloration, slimy surface — act immediately.
- Immediate response: quarantine affected area, remove contaminated material, sanitize tools and surfaces.
- Root-cause tracking: map contamination events to process steps (spawn, mixing, filling, watering).
SOPs — Daily, Weekly, Monthly Checks
Daily
- Check MCU dashboard: temperature, RH, CO₂, substrate moisture—any red alerts?
- Walk rooms: local condensation, dripping, visible spots?
- Check humidifier water level.
Weekly
- Spot-check sensor readings with a handheld meter.
- Clean humidifier nozzles and filters.
- Inspect drippers and irrigation lines for blockages.
Monthly
- Replace humidifier filters if applicable.
- Recalibrate sensors when variance exceeds tolerance.
- Full sanitation sweep of surfaces and tools.
Copy-Paste Checklists
Pinning Checklist
- ☐ Is temperature within the strain range?
- ☐ Is canopy RH ≥ 85% during pinning?
- ☐ Are ventilation bursts delivering fresh air (not continuous strong airflow)?
- ☐ Is substrate moisture within target range?
- ☐ Any visible contamination?
Contamination Emergency Checklist
- ☐ Quarantine affected trays immediately.
- ☐ Safely dispose of contaminated substrate.
- ☐ Sanitize tools and surfaces.
- ☐ Test/replace the water source if needed.
- ☐ Review recent process steps to find the breach.
Small Experiments to Run Next Flush (A/B Tests)
- CO₂ test: Room A target CO₂ <800 ppm vs Room B <1500 ppm — compare cap size and stem length.
- Irrigation pulse timing: 30s every 8 hours vs 60s every 12 hours — measure pooling and substrate moisture.
- Humidity smoothing: continuous low-power humidification vs periodic high-power pulses — compare condensation and pin quality.
Record results in a spreadsheet — growing is iterative and data-driven.
Final Recommendations & Next Steps
- Map your process from substrate prep to harvest and highlight risks at each step.
- Instrument the farm with temperature, RH, CO₂ and substrate moisture sensors and log data.
- Adopt stage-based profiles so incubation and fruiting settings are applied reliably.
- Schedule routine calibration and maintenance for sensors and humidifiers.
- Train staff on emergency checklists and SOPs for contamination events.